
Time for a little inspiration- some time ago, I saw a very inspiring video from the Dimicator, also known as Roland Warzecha. He is a reenactor, swordsman, martial arts instructor and a researcher. If you are not familiar with his work, I thoroughly recommend for you to have a look at his Facebook, YouTube channel and Patreon page.
So, the video I saw, talked about making a new scabbard, which featured a textile cover instead of leather and also textile bands wrapped around the bottom half of the scabbard, instead of a sword chape.
Various metal sword chapes will be a familiar sight to any reenactor and are very popular as means to decorate and protect a scabbard:


(images taken from jellingdragon.com, etzy.co.uk and kultofathena.com)
Whilst very attractive and practical as well, these chapes are seldom found in archaeological record, especially when you compare the number of chapes found to number of sword finds. Many researchers agree, that sword chapes, especially before the 11th century were not a common sight, perhaps only the domain of the rich.
And yet, there is a very practical question to be answered- how was the scabbard decorated and protected? As any reenactor will tell you, leather scabbards tend to get a lot of wear and tear, through rubbing against other surfaces (especially armour and other weapons), resting them on the ground with the point being subsequently worn or through battle damage. Using a sword chape is one way to prevent such damage. But there must have been other ways to help to prevent the damage and also to add some decoration to the scabbard. That, my friends, is where the Dimicator video comes in.
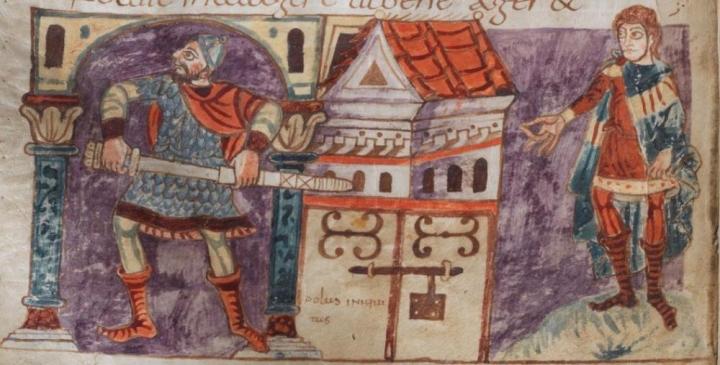
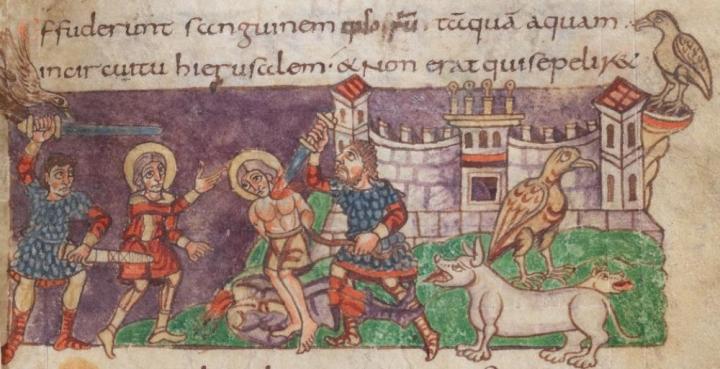
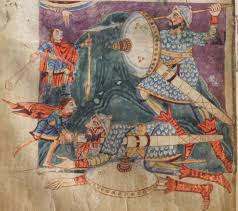
It is argued, that textile bands would be used to bind the bottom of the scabbards and then wound around it, in an X like pattern, to provide decoration and additional protection from wear and tear. Alternatively, leather could also have been used to a similar end, but textile is the material I decided to go with, as it is cheaper, easier to work with and provides more opportunities for decoration. To illustrate my point, have a look at a few manuscript illustrations from Carolingian era (and one from Crusades era), where this details of scabbard decoration is best visible:


Seeing this inspired me to improve my own scabbard, which was beginning to show evidence of the wear and tear damage so typical of reenactment use.
So, without further ado, lets get into the nitty-gritty of how I went about decorating my Viking scabbard!
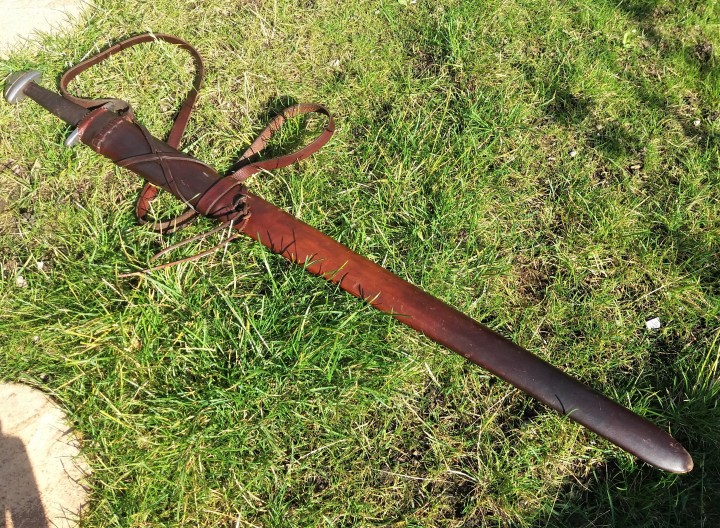
My trusty scabbard, in it’s original state- note that at the very bottom, damage already starts to appear, as well as minor scratches at the sides. Time to get some textile on!

I used left-over wool fabric, from another project. I cut a long strip of wool into thin bands, approximately 2cm wide. You may want to do the same, or cut linen fabric instead, or perhaps get a woven wool or linen band for better aesthetics. To put them on, I will need glue, a small nail/carpet tack and a measuring tape.
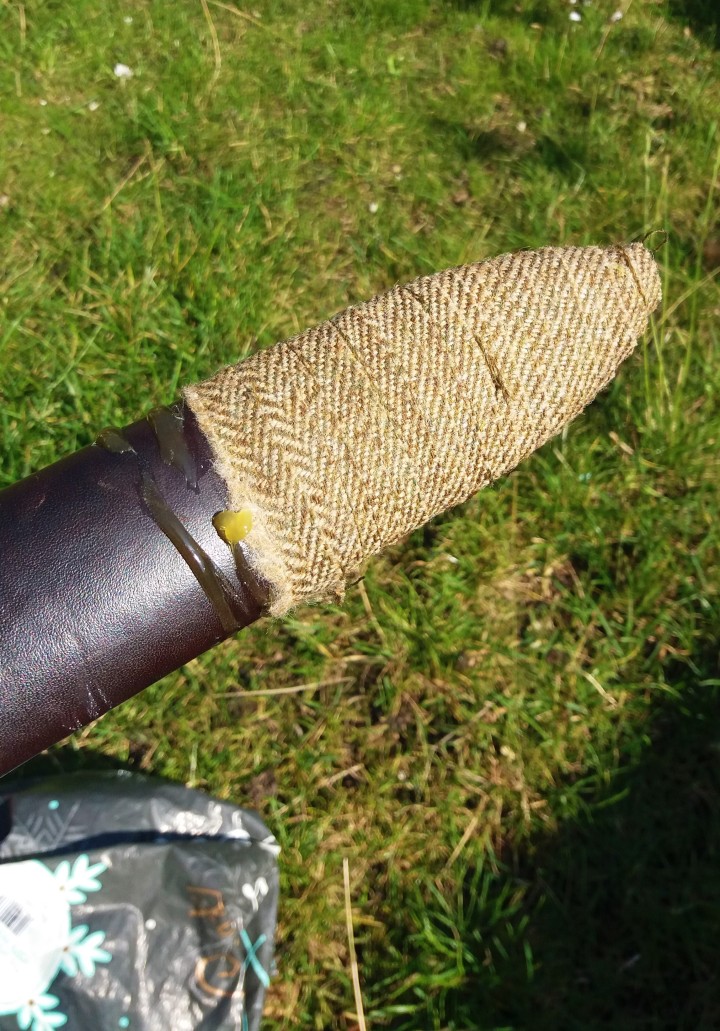
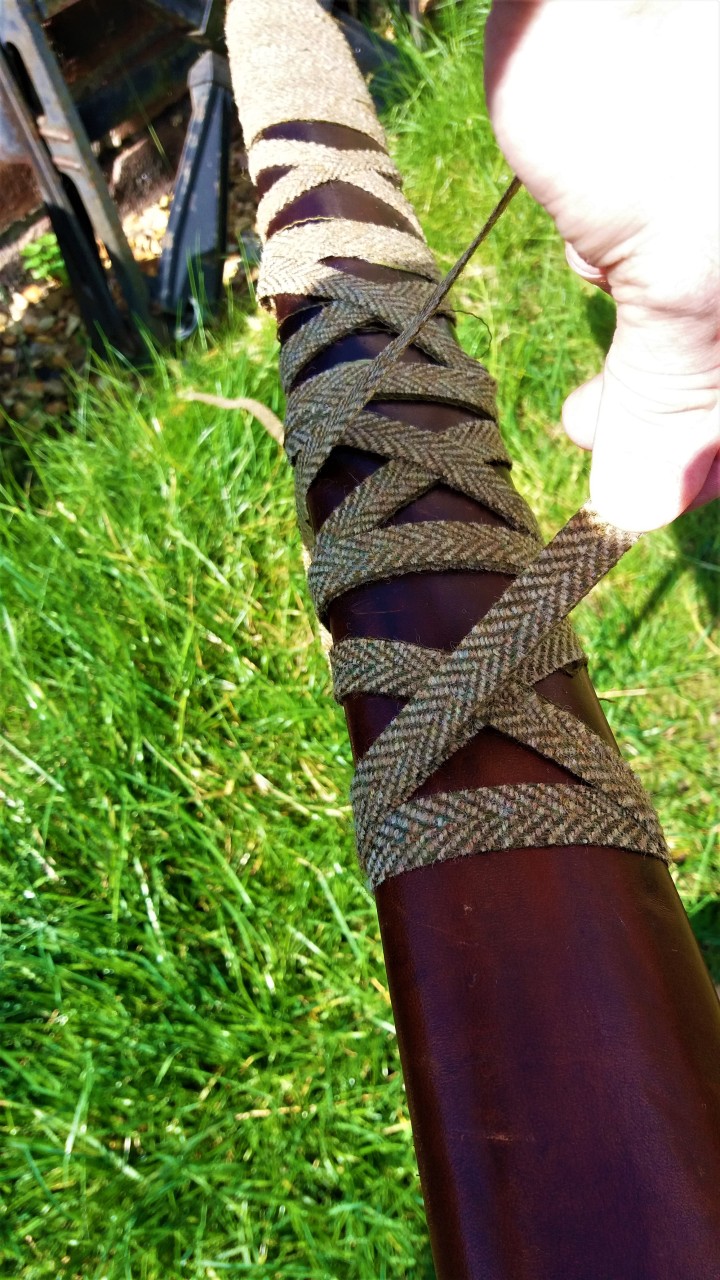
First, I would my textile band tight around the bottom of the scabbard. To hold it in place, I nailed it to the tip of the scabbard with a single small carpet tack ( a nail would also do), rest is held together by glue and good old friction.
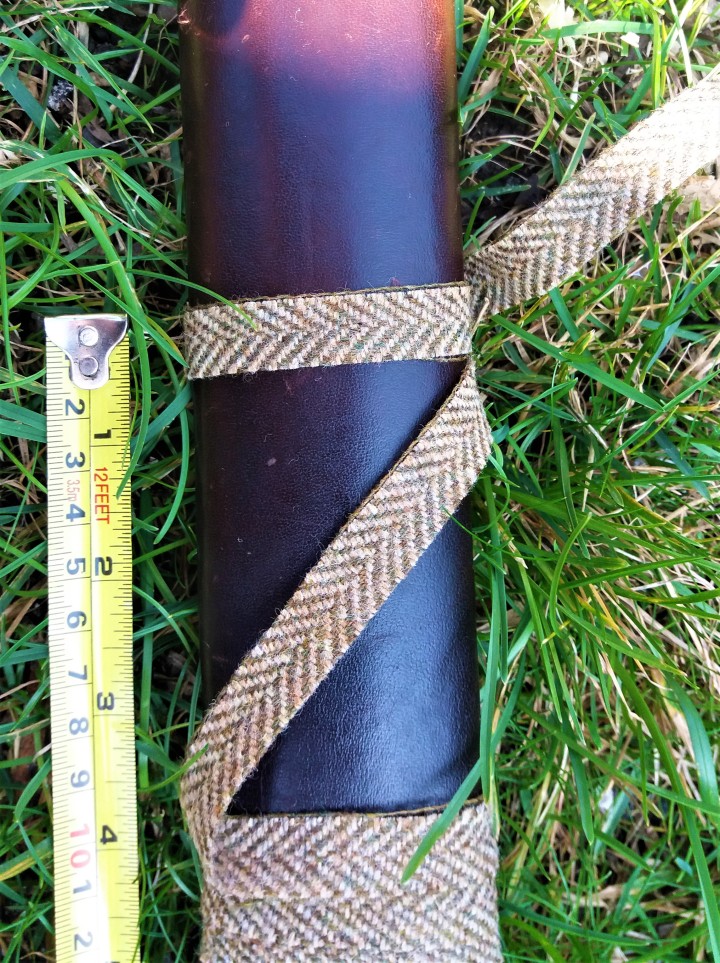
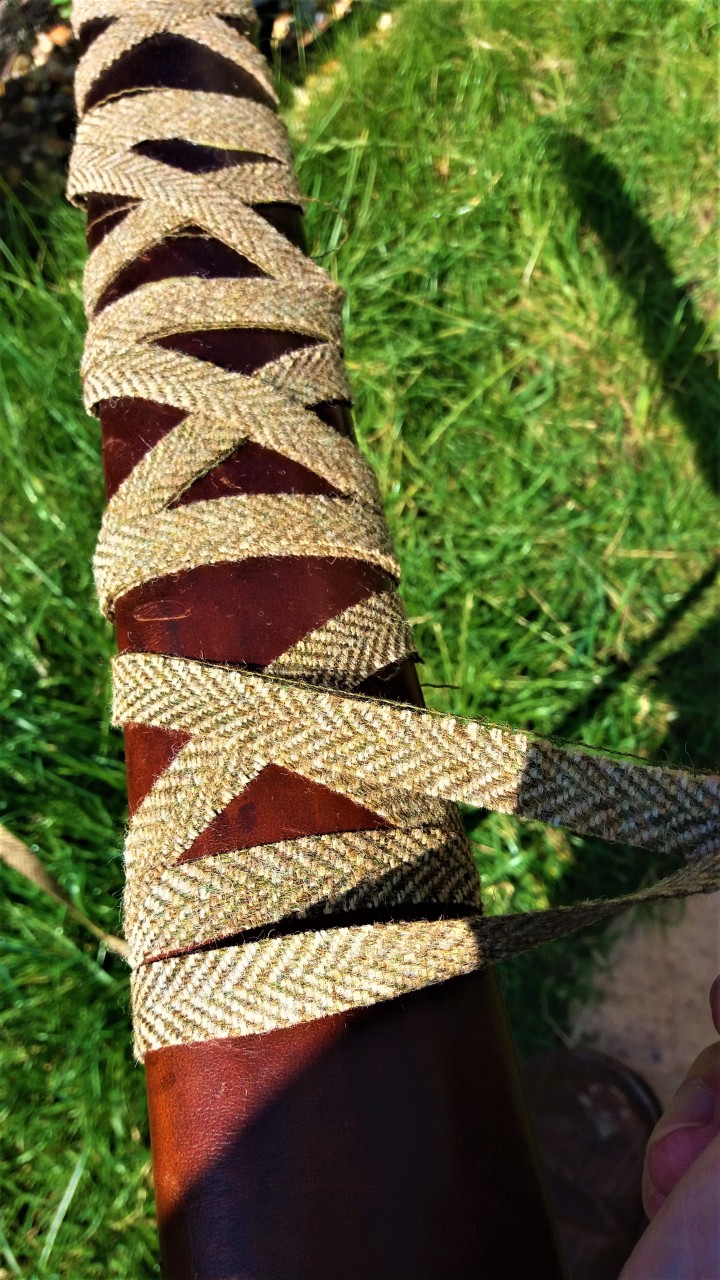
I used a measuring tape as a guide for my criss-crossing bands, to ensure they are equally spaced out. It would be equally good to make them bigger, the higher up the scabbard they go, as this is also something we see on contemporary illustrations. I recommend a “dry run” for this, before having a go with glue etc., as it can take some practice to get the design and the technique right.
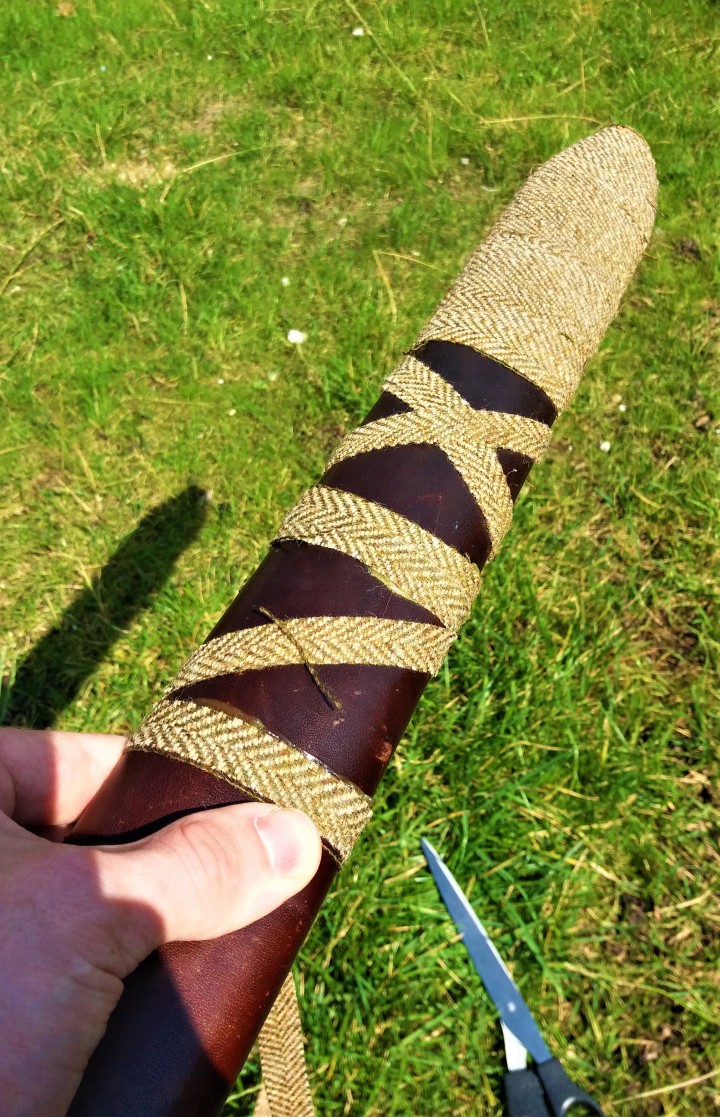
As I kept building up my pattern, I had to join separate bands of wool together, as I did not have a single one that was long enough. Best to try to get a band to end when making a straight line, as opposed to an “X”, then tuck the loosed end into the back. You can take another band and tuck that one in as well, before proceeding with another “X”. Remember to use glue as you go along and to always do at least one practice run.
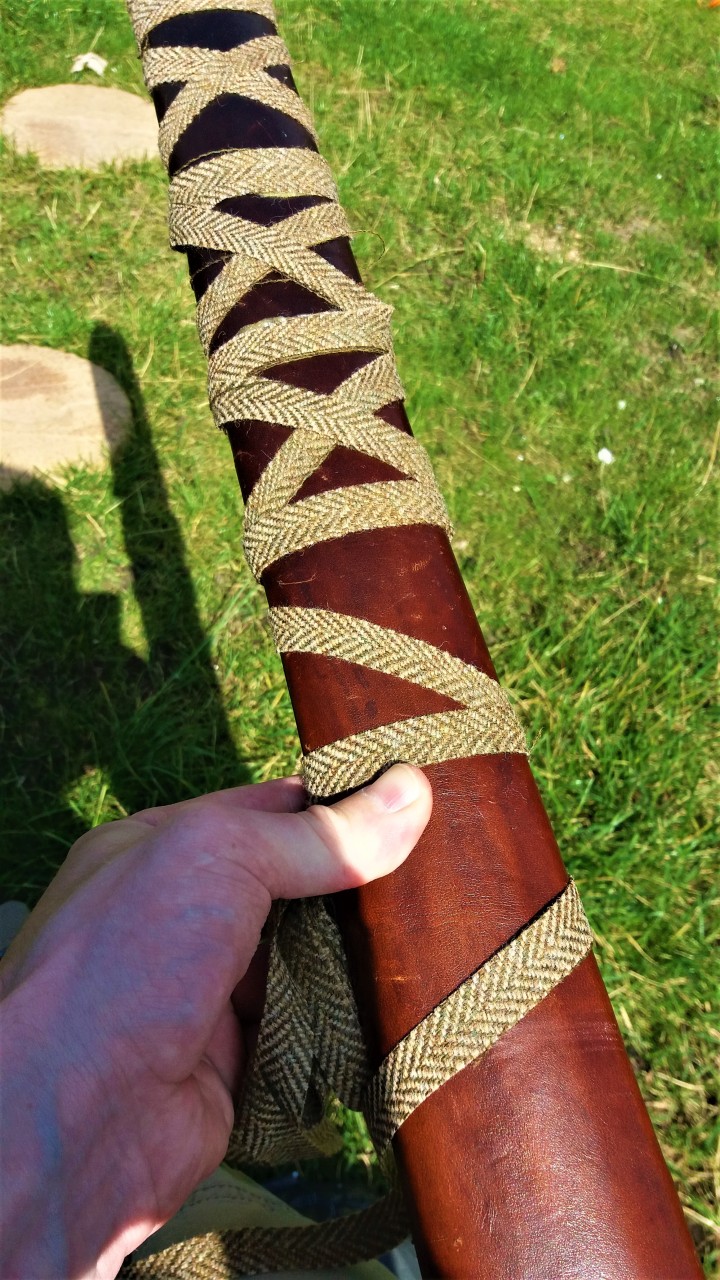

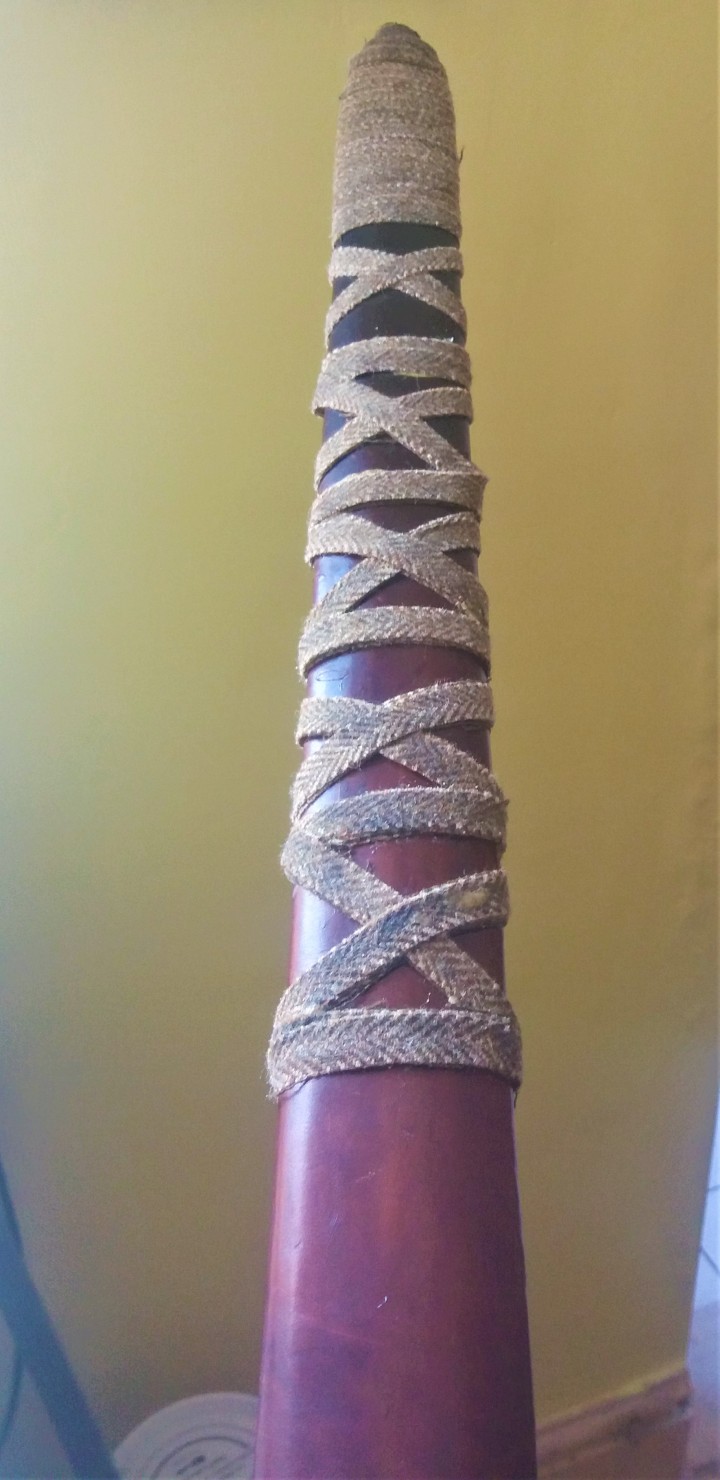
For better protection, I wound two bands on top of each other. If I were using a woven band, such as a tablet woven braid, I would only need one band, as they are naturally thicker and more resistant. I also need to mention, that cut bands tend to fray at the edges, so if you are feeling like putting extra effort in for best look, you might want to cut thicker bands and hem them in, to prevent fraying.
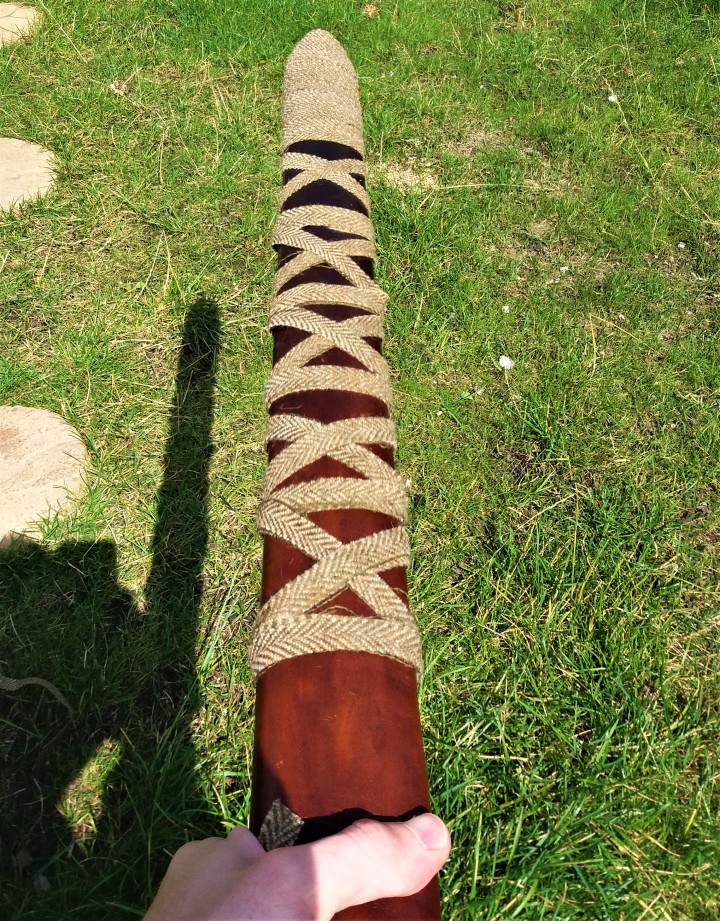
My pattern is almost finished, now I need to let it dry out and then I can get on with impregnating the fabric.
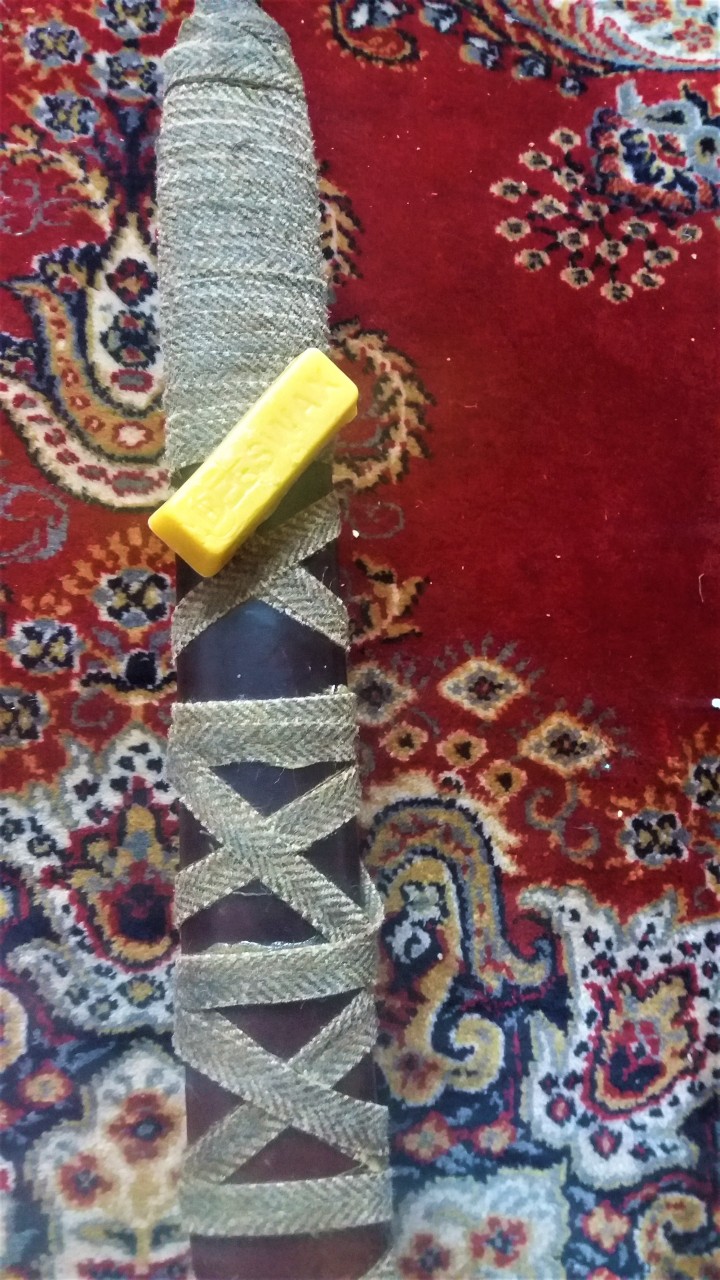
To impregnate the fabric I stuck on my scabbard, I used beeswax. I heated the bar just a little and kept rubbing the half-molten wax into the wool, applying it liberally. Then I took out a heat gun (a hair dryer would also do, or a bonfire/BBQ if you are feeling authentic). Stick the scabbard near the heat source and keep it there just long enough for the wax to melt and sink into the fabric. That will keep it from getting wet, make it stick down better and provide better protection form any damage.
And here we go! A finished product. This will make my scabbard stand out a bit as well as provide extra protection. In the future, I might go over this again (budget permitting!) or perhaps just start a new scabbard project… But I am very happy with the look and the additional protection for my precious sword and it’s scabbard. I hope you have enjoyed my latest kit project and I hope I encouraged some of you to experiment and do some research into this yourself. Until next time!

very nicely done!